macOS
macOS is a Unix-like operating system developed by Apple Inc. It is the operating system that powers the Macintosh family of computers.
Setting up a new Macbook will be tough and cumbersome. Every time I am getting a new Macbook, I go over the same steps on how to set it up for my working experience.
I create a record of my setup, hoping it’s helpful for others too!
- Immediate First Steps
- Install Homebrew
- Setup Terminal
- Install Alfred
- Development Tools
- Other Softwares
Immediate First Steps
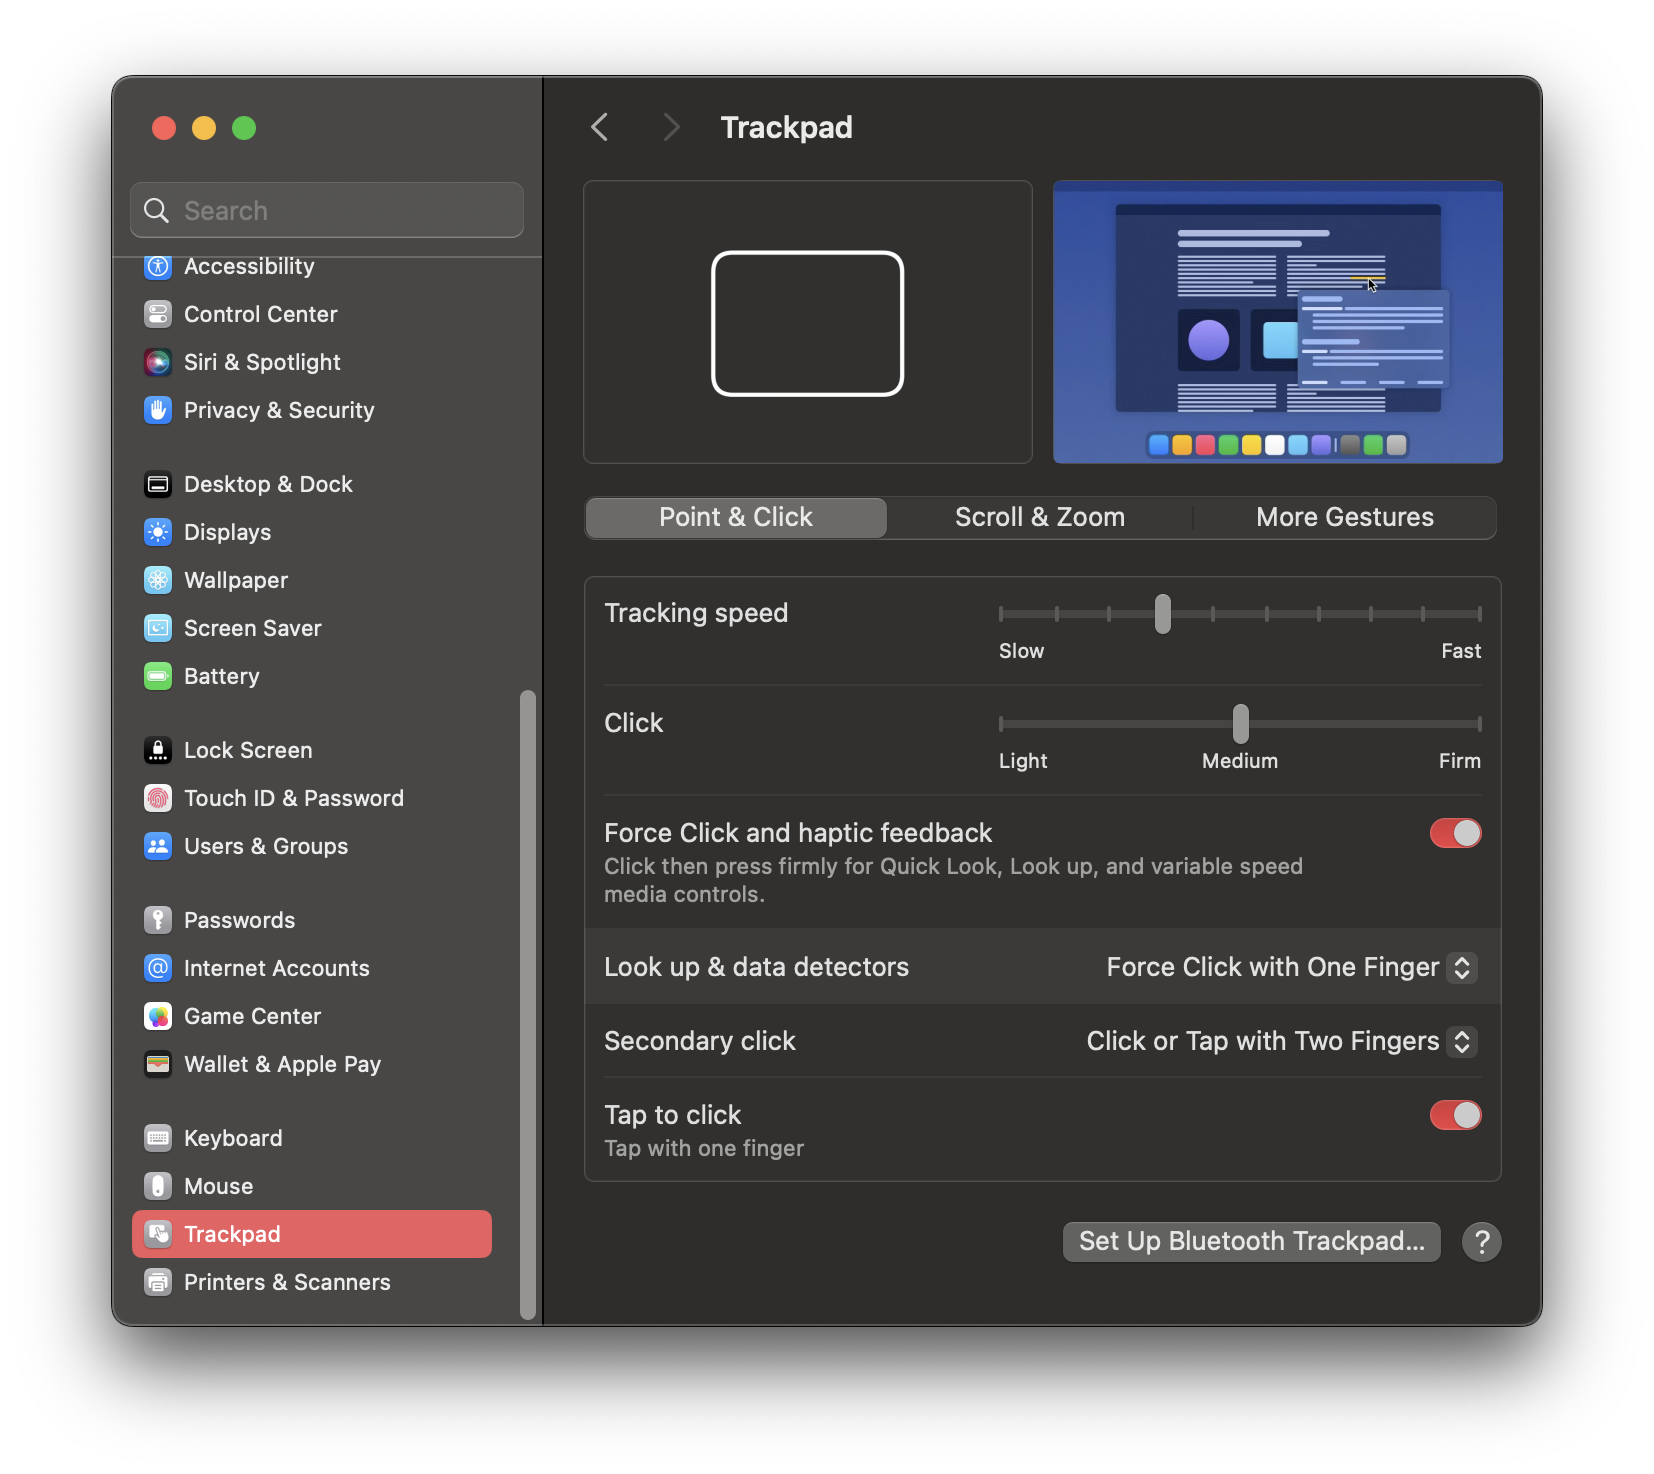
Enable Tap to Click
When setting up a new Macbook, one of the first changes we make is enabling the tap-to-click feature for the trackpad.
Go「System Preference -> Trackpad -> Point & Click」and enable 「Tap to click」 option.
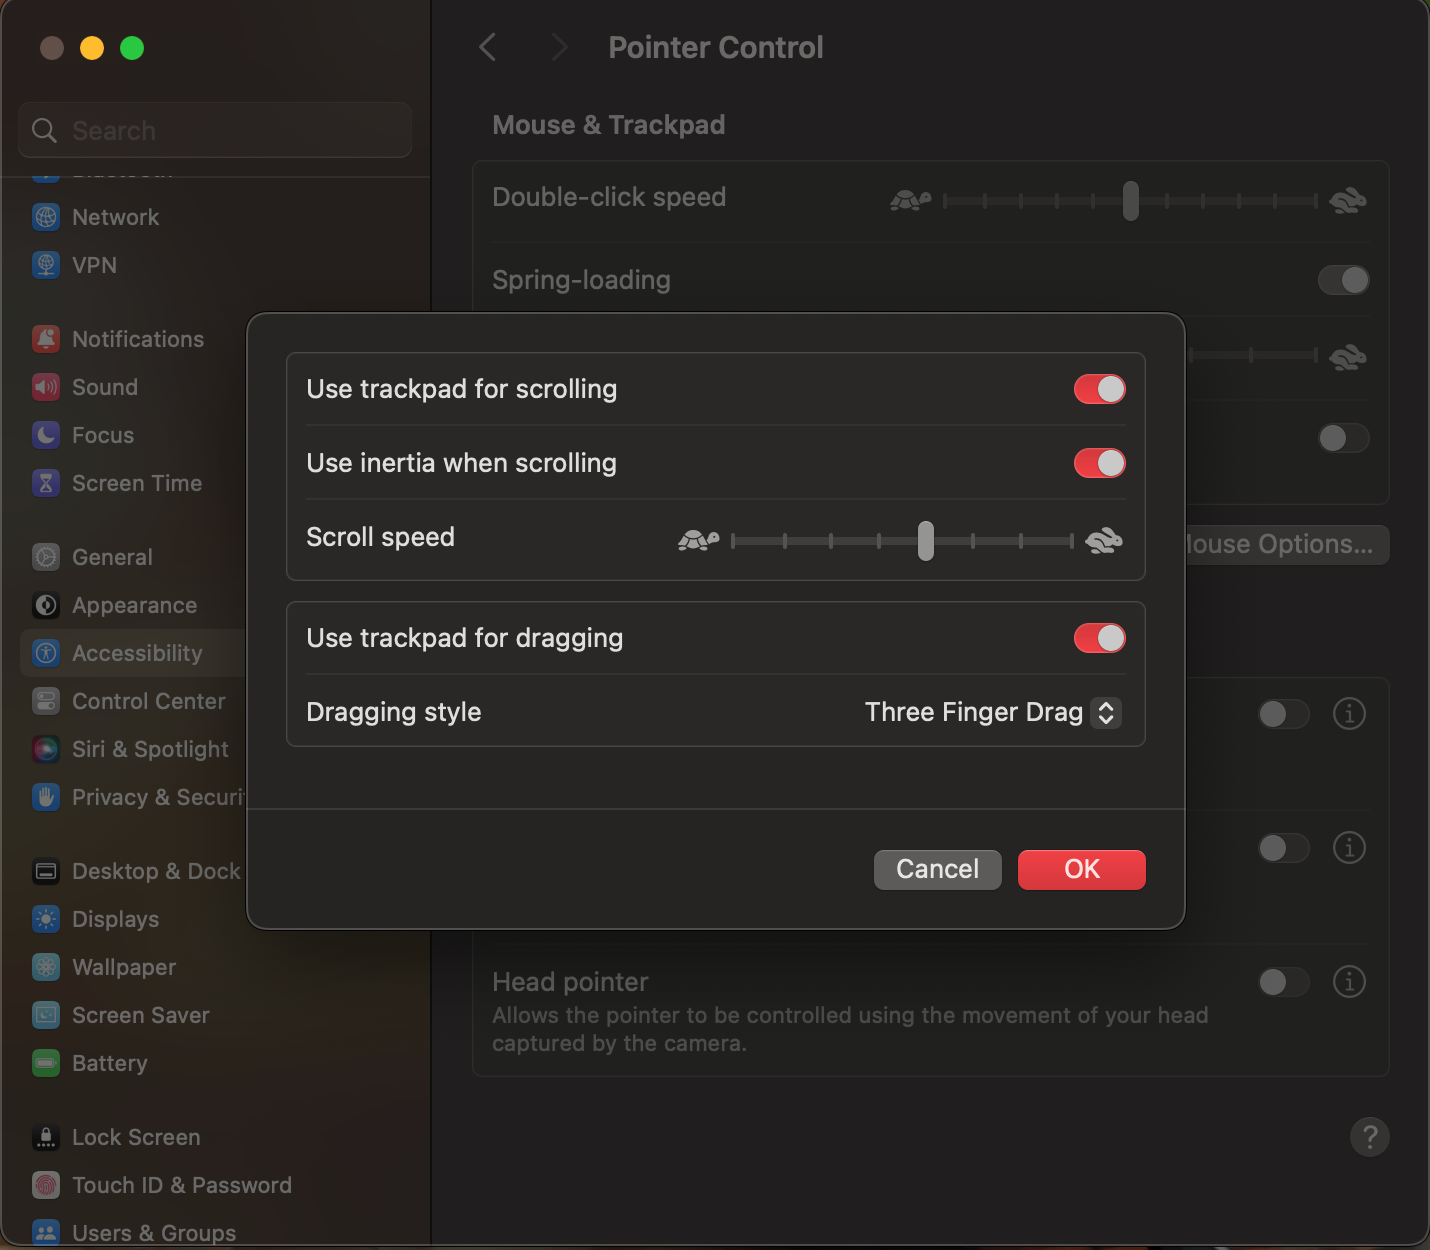
Enable Three Finger Dragging
In general, “tap to click” on your Macbook to avoid a force-click on the trackpad. But this doesn’t work when it comes to dragging and repositioning windows.
Also, I’m big fan of tree finger dragging.
- Go 「System Preference -> Accessibility」.
- In the Accessibility sidebar, choose option 「Pointer Control」.
- Click the button 「Trackpad Options」.
- Enable dragging and select 「three finger drag」.
Enable App Exposé with trackpad
“App Exposé” lets you see shows you all open and unhidden windows for your current app.
- Go 「System Preference -> Trackpad」.
- Click the 「More Gestures」.
- Enable “App Exposé” and select 「Swipe down with four fingers」.

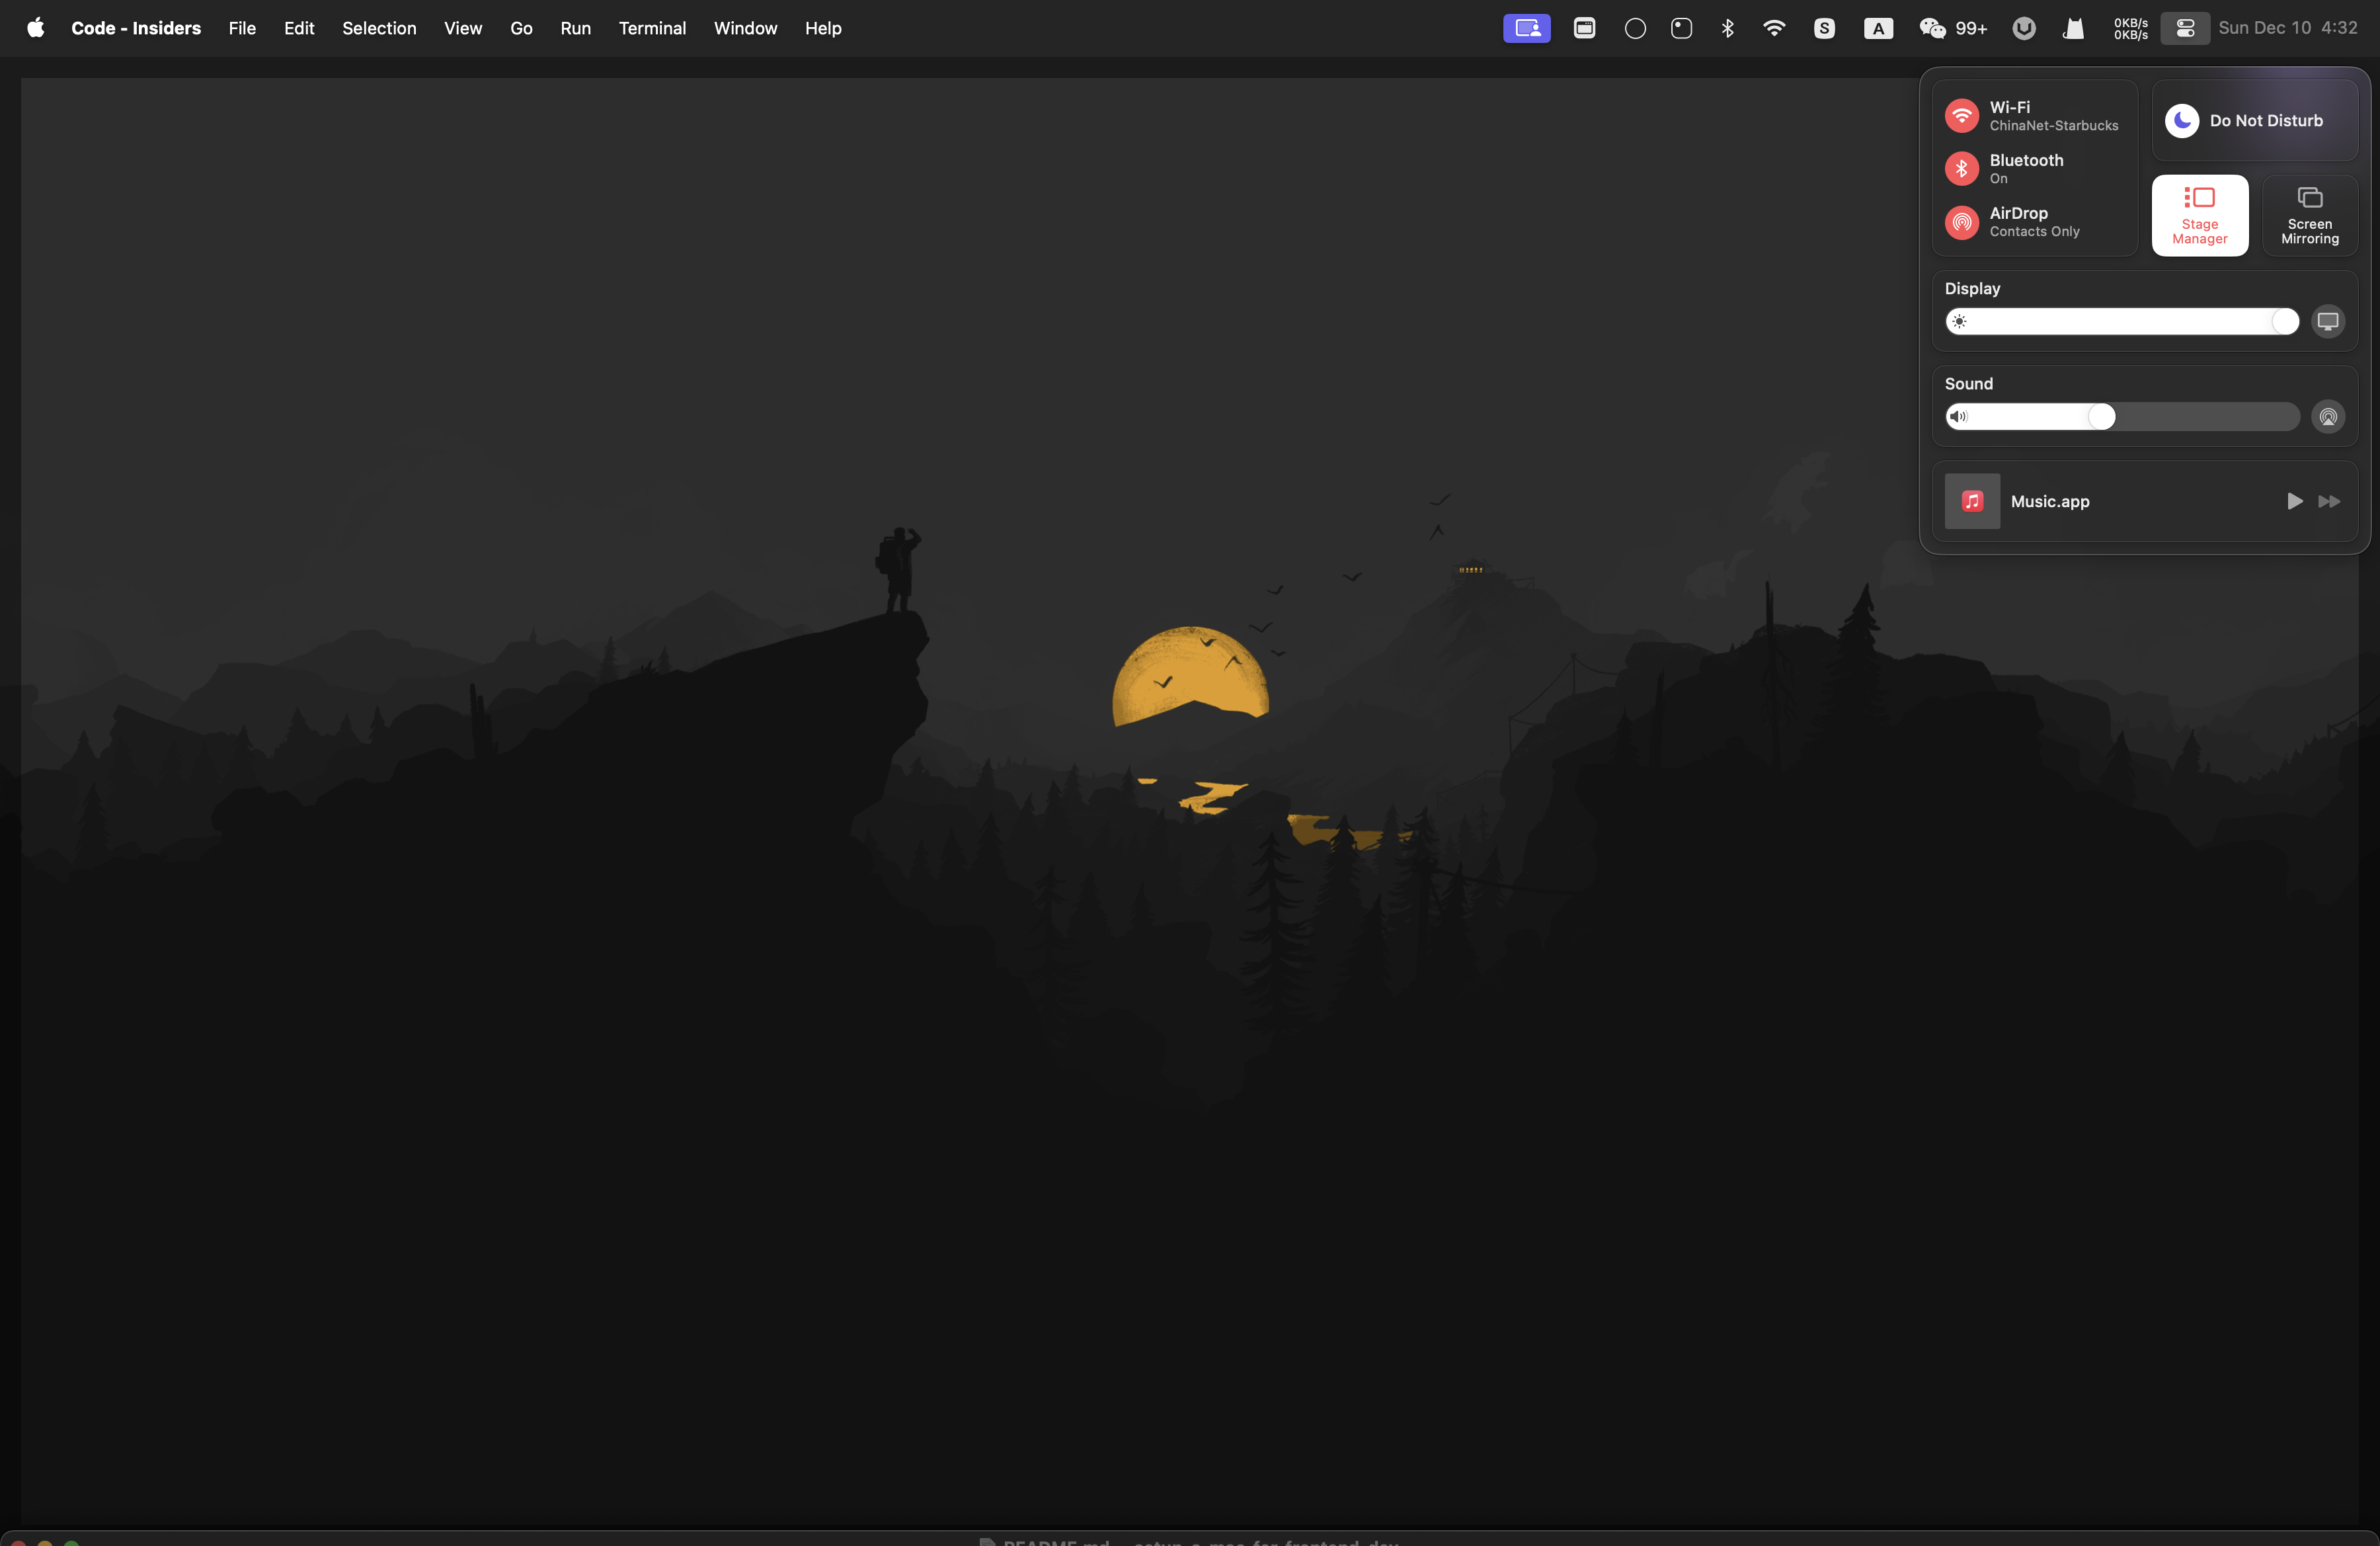
Enable Stage Manager
Compared to multiple windows, I prefer Stage Manager. This feature arrived with macOS Ventura, and provides a little bit of ability to make your windows less cluttered.
- Click Control Center in the menu bar, then click Stage Manager.
Change Wallpaper
Visit wallhaven to find a wonderful wallpaper and replace the default ones.
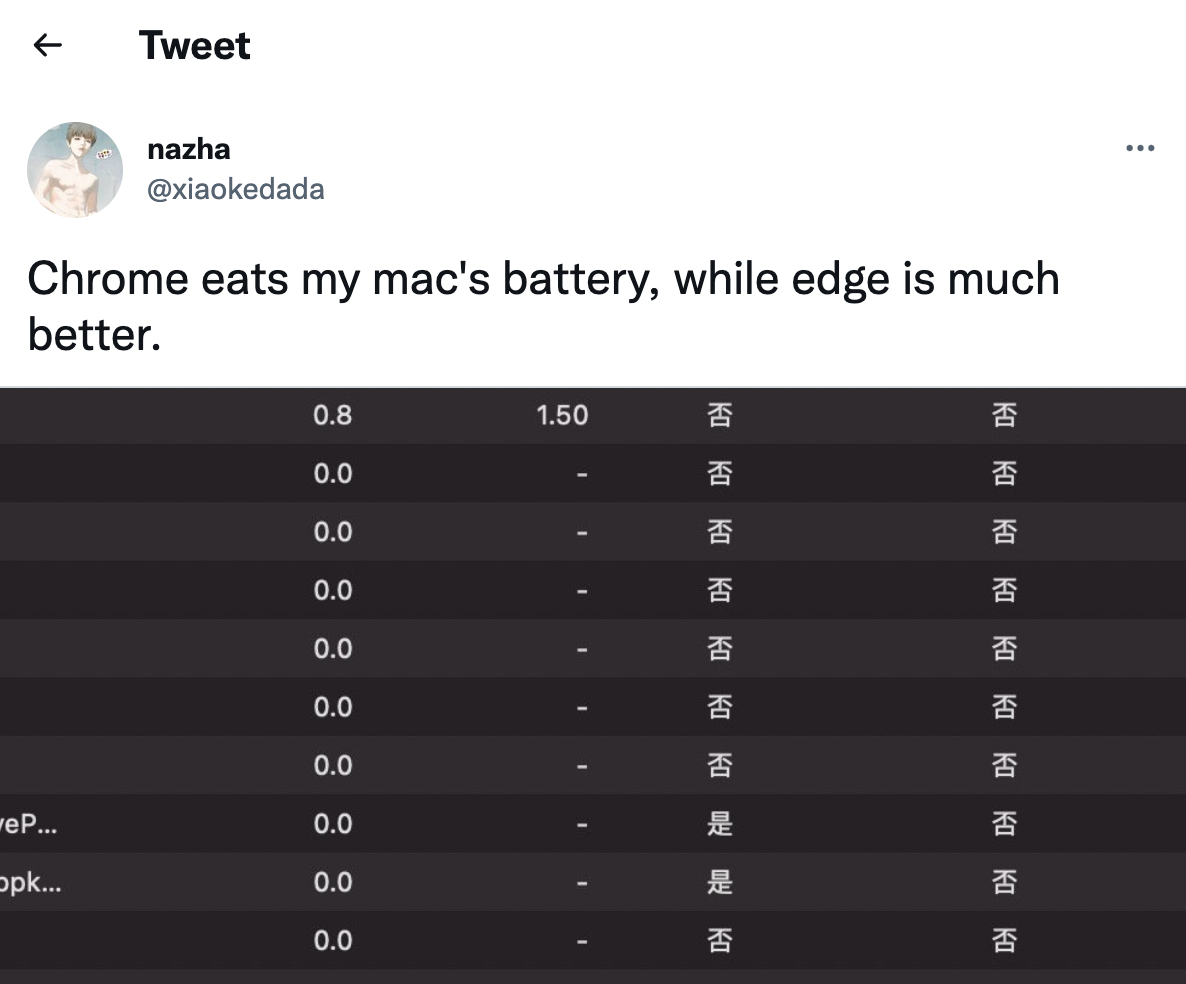
Download Edge
After discovering chrome are eating my old Mac’s battery, I turned to use edge.
Install Homebrew
Homebrew is “The Missing Package Manager for macOS”.
Simply follow their installation guide, copy /bin/bash -c "$(curl -fsSL https://raw.githubusercontent.com/Homebrew/install/HEAD/install.sh)" to terminal.
For GFW reasons, the Chinese users will fail to connect to github.
Just copy
/bin/zsh -c "$(curl -fsSL https://gitee.com/cunkai/HomebrewCN/raw/master/Homebrew.sh)"to your terminal. It will do the same thing when installing homebrew.
Setup Terminal
Now, I use wrap as macOS terminal replacement. It’s simple and easier to setup.
For those who may like iTerm2 more, read the following guide.
- Use the Homebrew to install iTerm2
$ brew install --cask iterm2
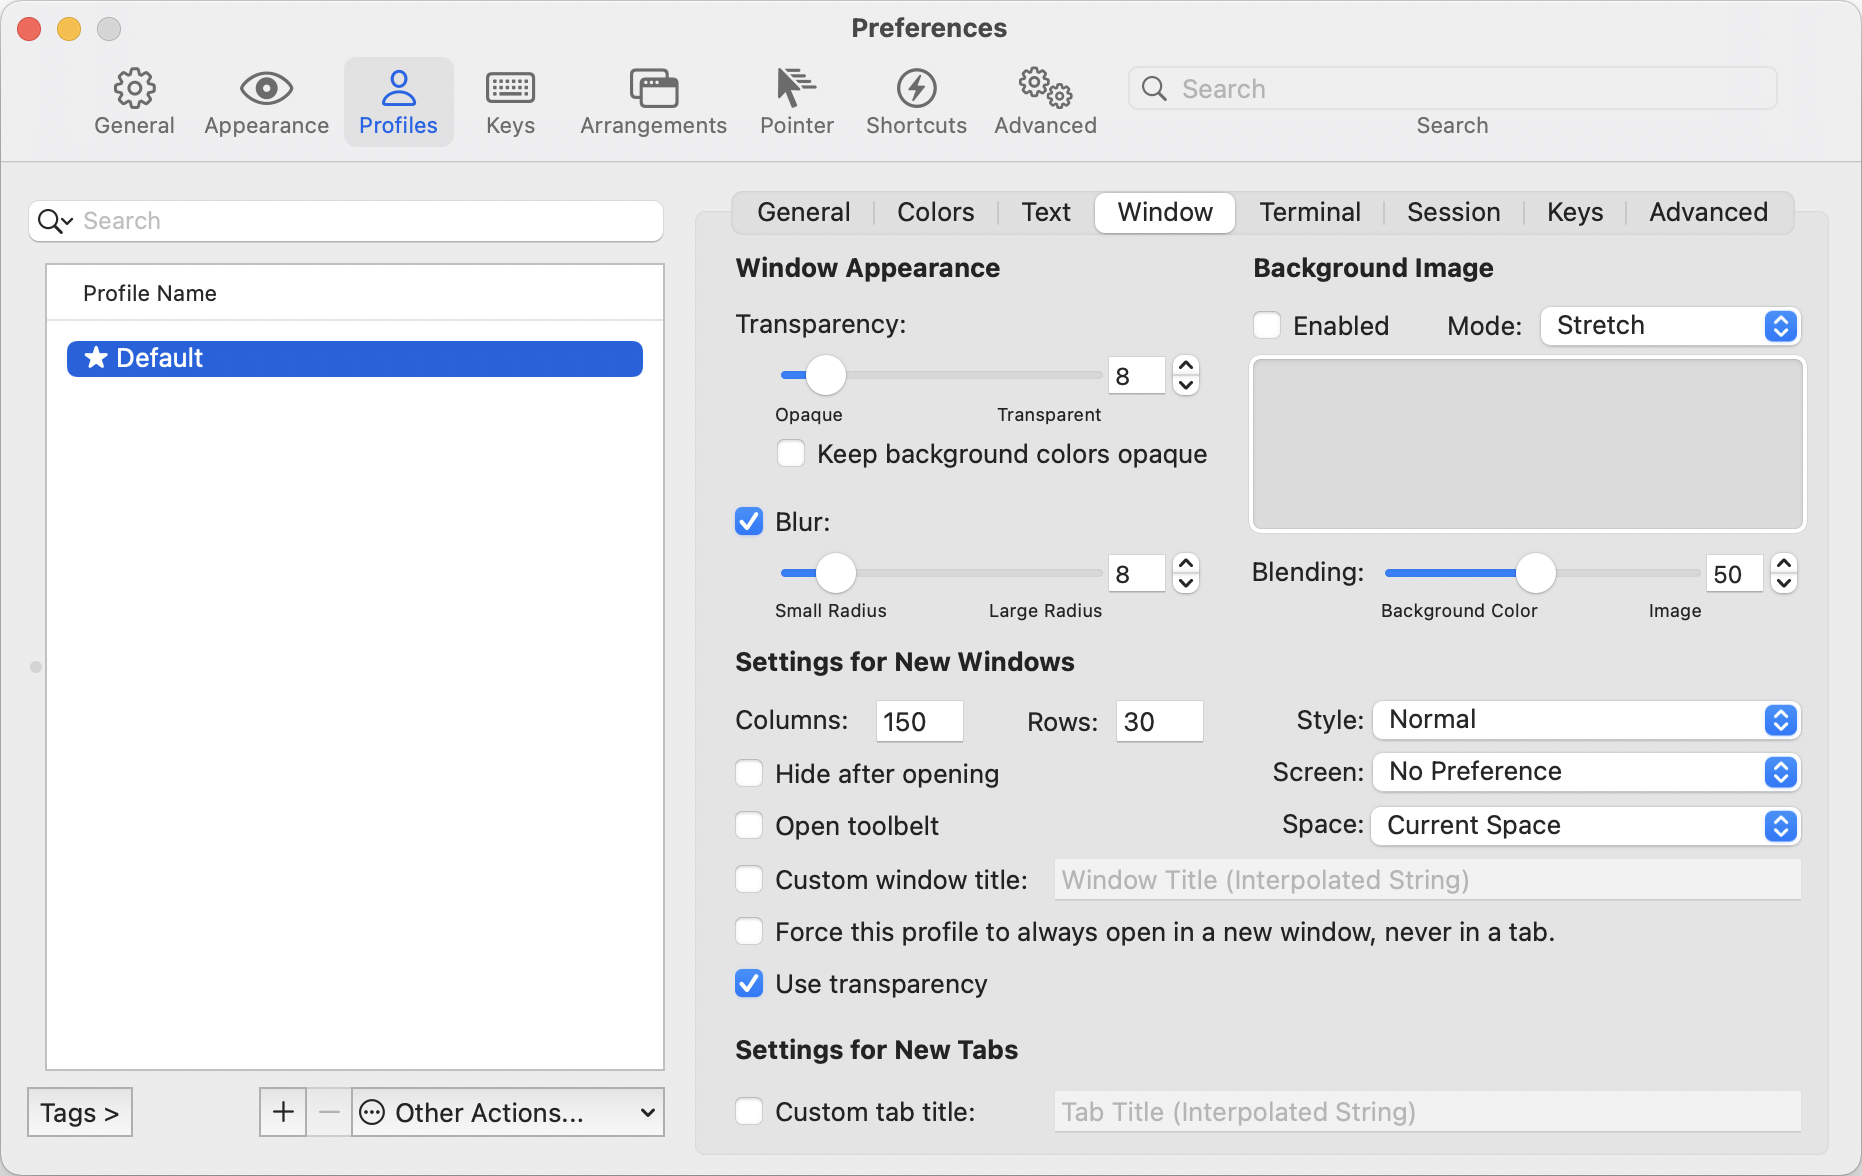
- Change a few settings of iterm2
- Go 「iterm2 Preferences -> Profiles -> Default -> Window」, add transparency and blur.
- Go 「iterm2 Preferences -> Profiles -> Default -> Keys -> Key Mappings」, replace the standard ones with the preset “Natural Text Editing”.

- Install Oh My Zsh
The great thing about this is that you can customize your shell and add plugins. Unlike the old Bash shell, which does not look attractive and can make it difficult for you to use.
$ sh -c "$(curl -fsSL https://raw.github.com/ohmyzsh/ohmyzsh/master/tools/install.sh)"
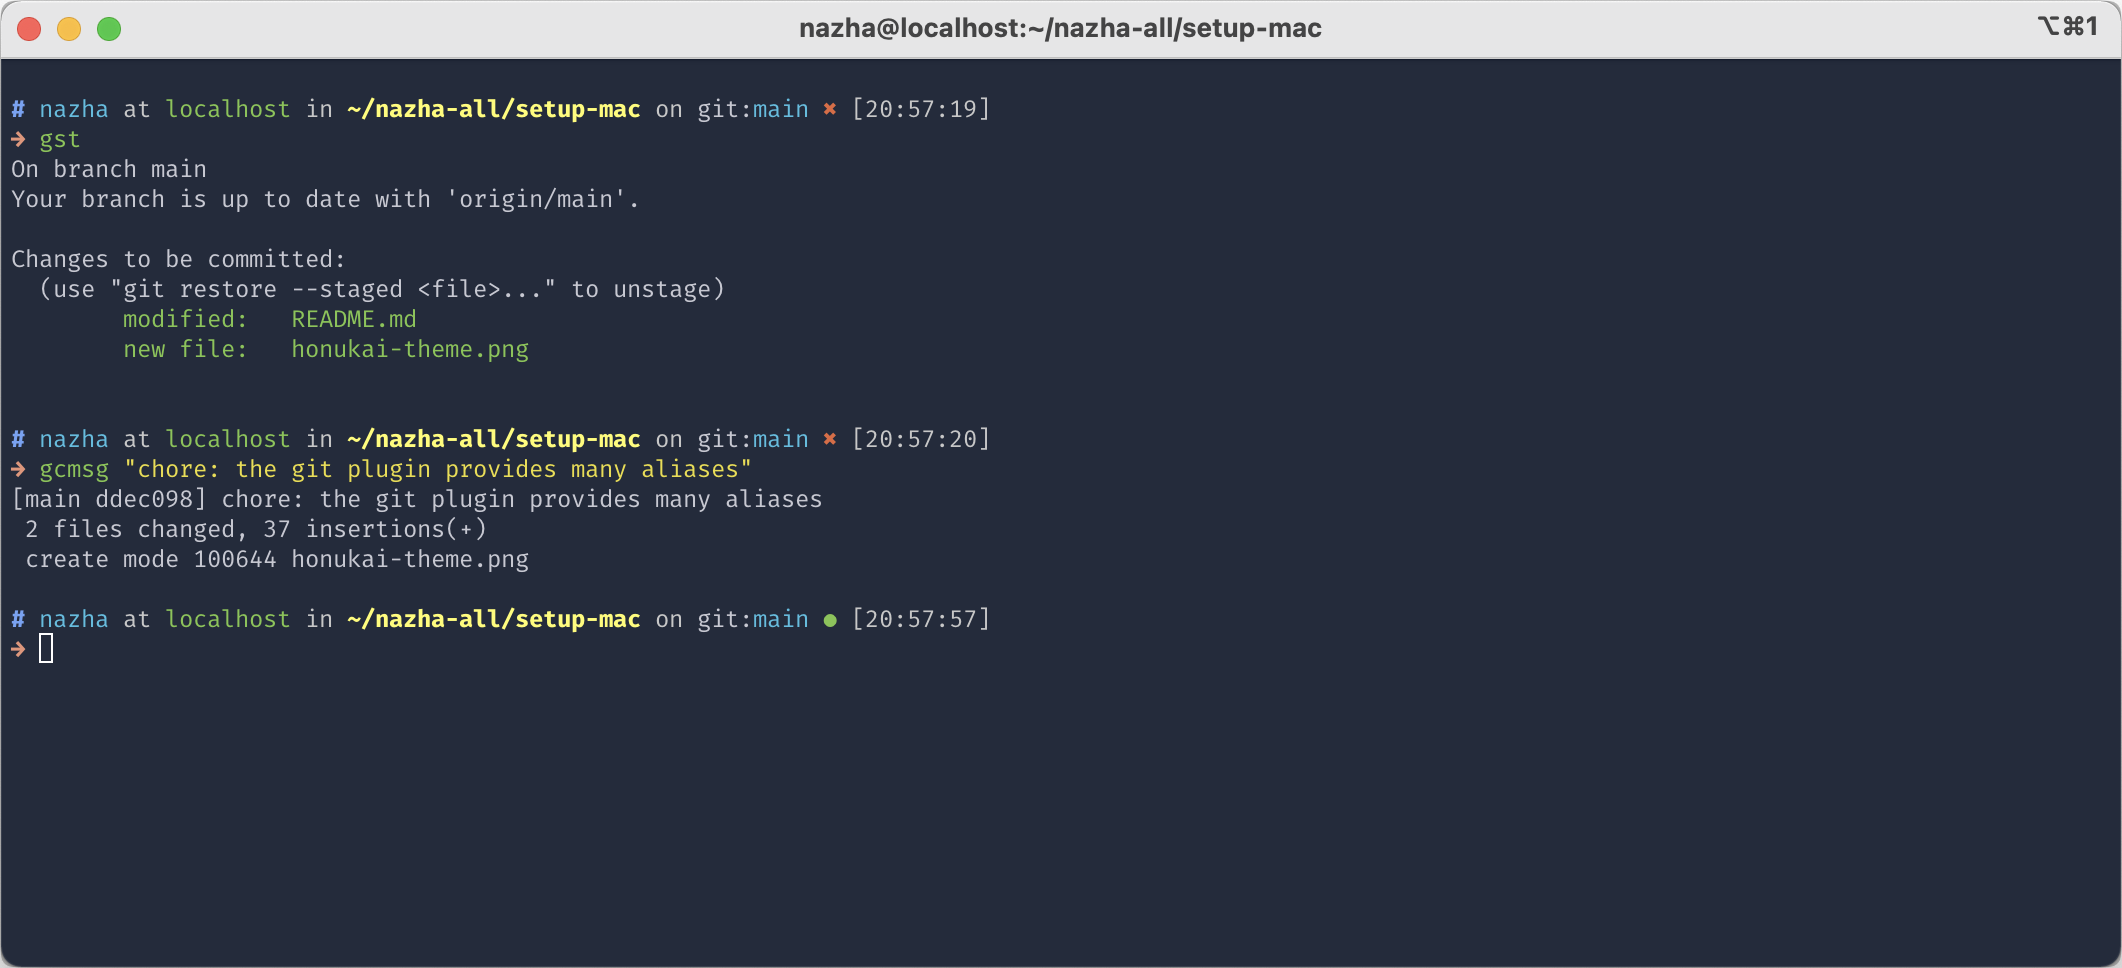
- Choose your favorite theme
There are multiple themes you can choose from. My favorite theme is honukai and it should look like in the screenshot:
For compelete guide, dive into it’s docs.
- Add useful oh-my-zsh plugins
Oh-my-zsh is powered by plugins. I’ll share my top 3 plugins.
plugins=(
 git
 autojump
 zsh-syntax-highlighting
)
- the
gitplugin
The git plugin is enabled by default. It provides many aliases and a few useful functions.
To use it, add git to the plugins array in your zshrc file:
plugins=(git)
- the
autojumpplugin
Use Homebrew to install autojump.
$ brew install autojump
After that, add autojump to your zshrc file:
plugins=(... autojump)
- the
zsh-syntax-highlightingplugin
The installation of zsh-syntax-highlighting may be tedious. But it worth the effort.
Clone the zsh-syntax-highlighting repository in oh-my-zsh’s plugins directory:
$ git clone https://github.com/zsh-users/zsh-syntax-highlighting.git ${ZSH_CUSTOM:-~/.oh-my-zsh/custom}/plugins/zsh-syntax-highlighting
Then, activate the plugin in ~/.zshrc:
plugins=(... zsh-syntax-highlighting)
After adding the plugins to your
.zshrcfile, you have to restart zsh to activate them, using the commandsource ~/.zshrc.
You can find all my settings of
.zshrchere.
Install Alfred
Raycast is also a popular option right now.
Now, it is time for Alfred - an alternative for Spotlight.
Use Spotlight Keyboard Shortcut for Alfred
when installing Alfred, the first thing I do is disabling the default shortcut for Spotlight and use it for Alfred.
To do that, open System Preference -> Keyboard -> Shortcuts. Click on “Spotlight” and disable “Show Spotlight search”.
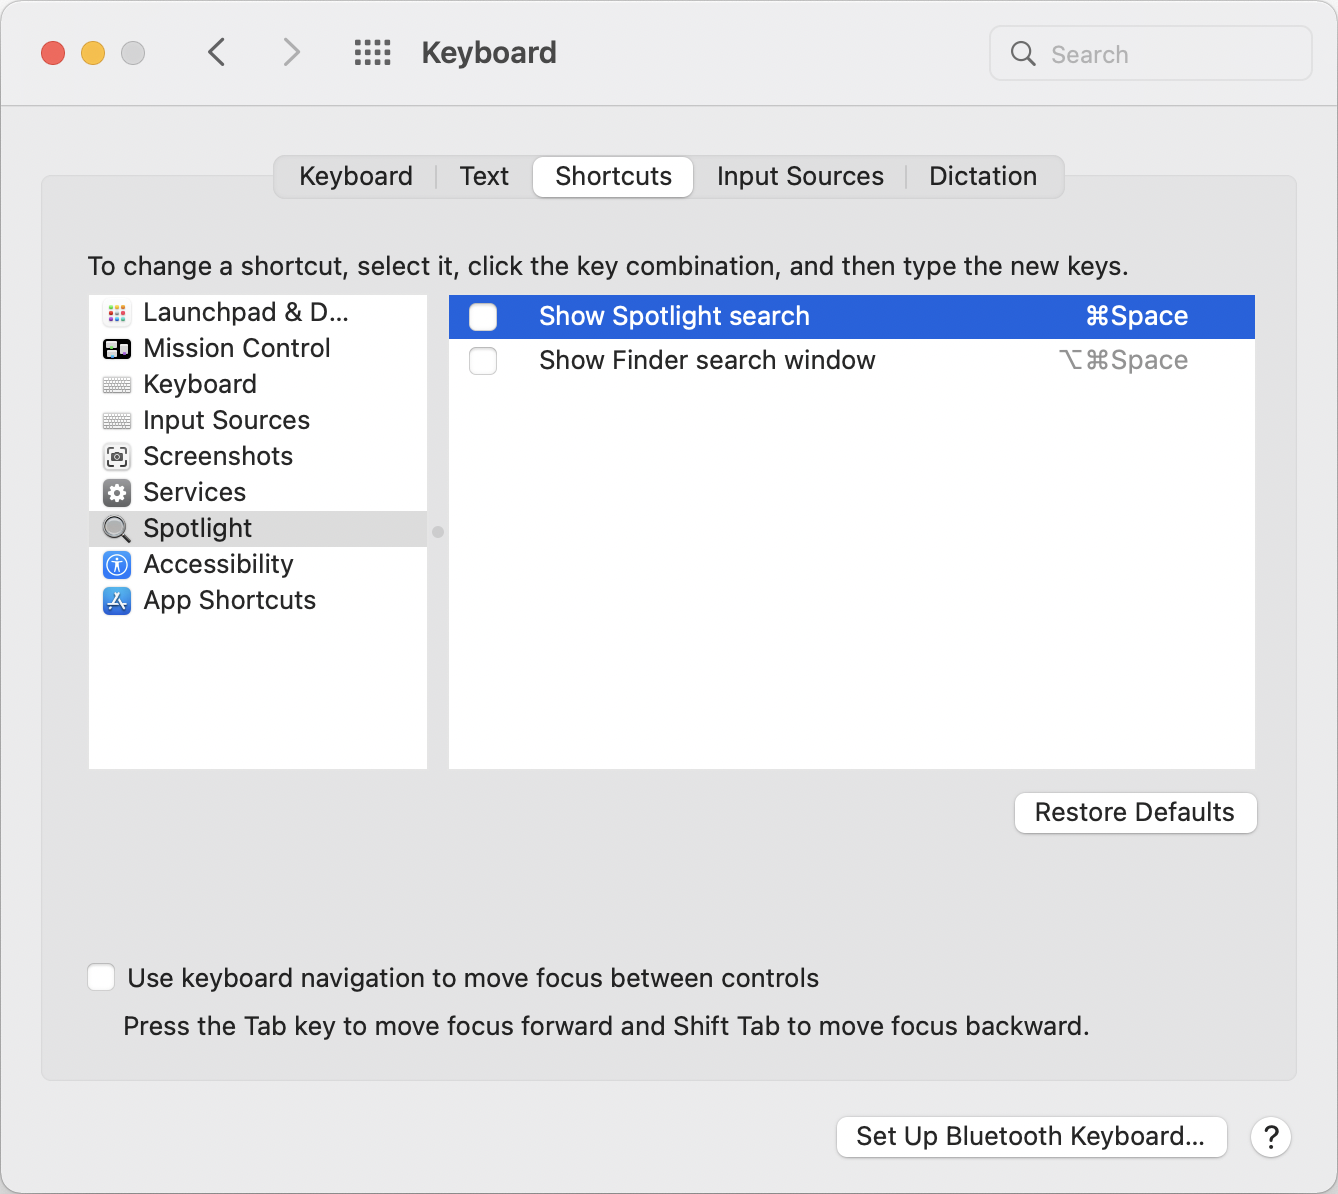
Open the Alfred settings and use the freed up ⌘ Space combination to launch Alfred.

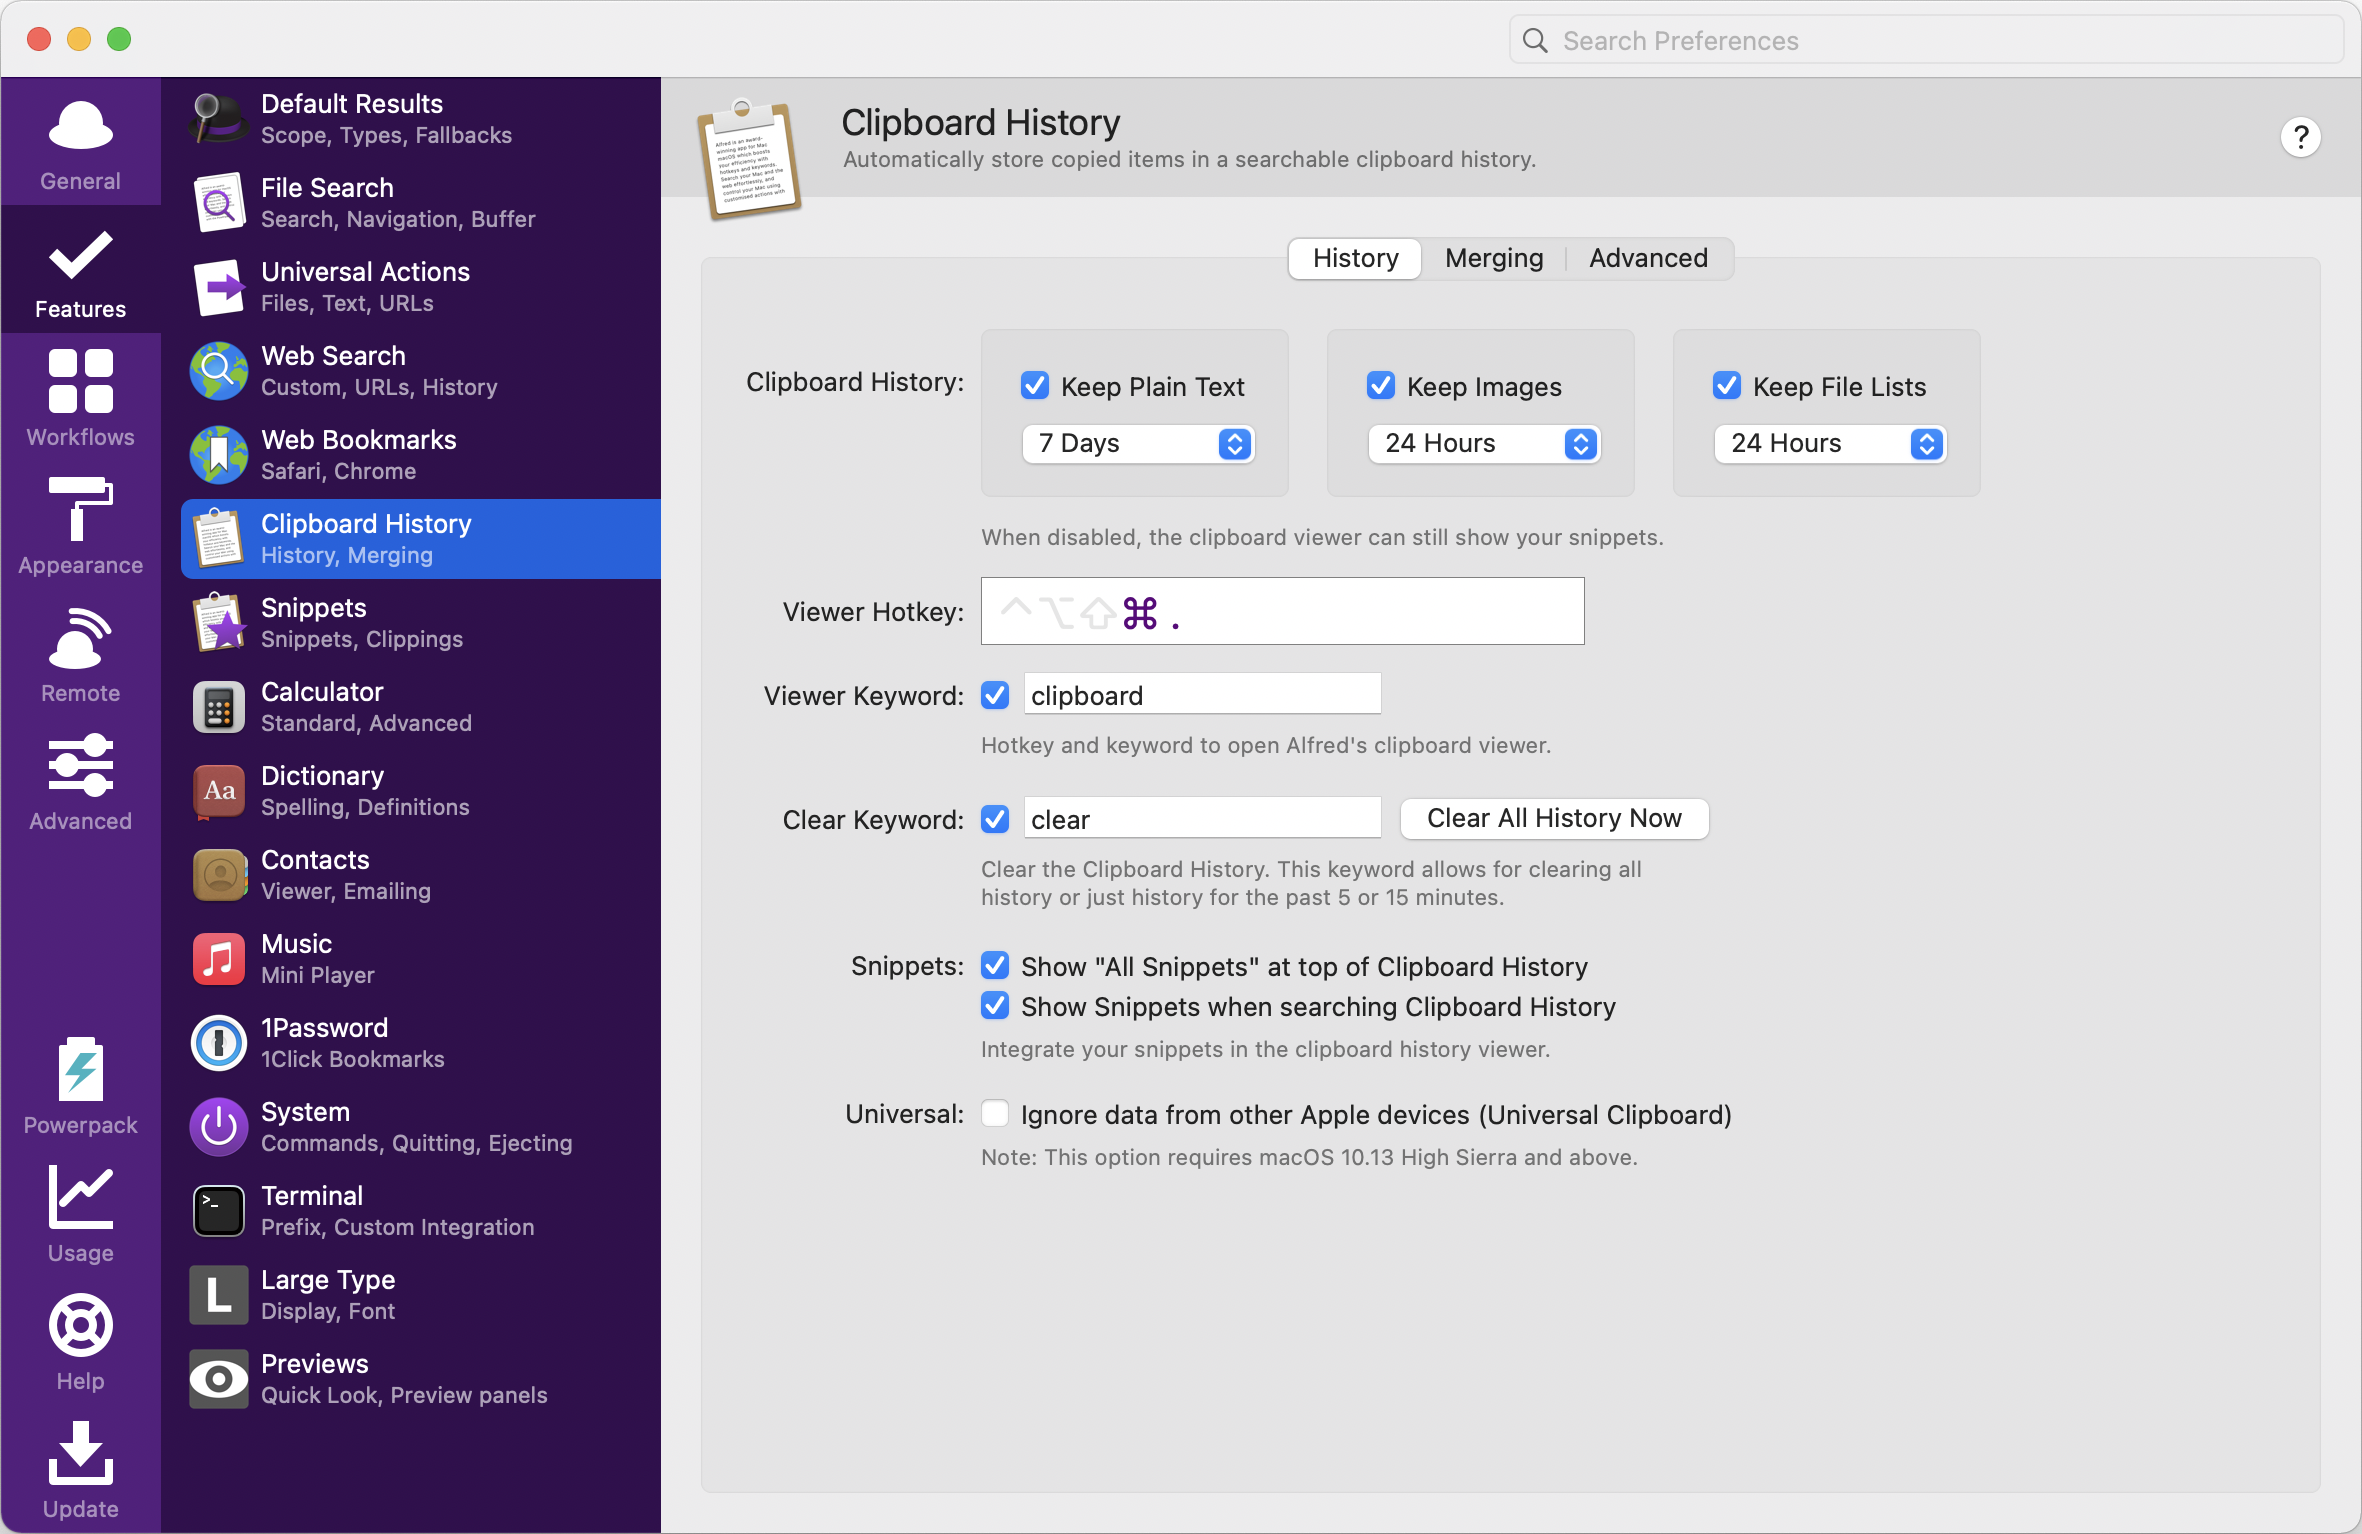
Clipboard History
Copy and pasting is something developers do everyday. Alfred ships with a clipboard manager which supports copied text, images and files.
The only thing I do is remapping the shortcut to ⌘ . to the Clipboard History.
Workflows
I do not have many workflows installed. One of my installed workflows is YoudaoTranslator, which provides translation service.
Follow the official guide to enable “YoudaoTranslator”.
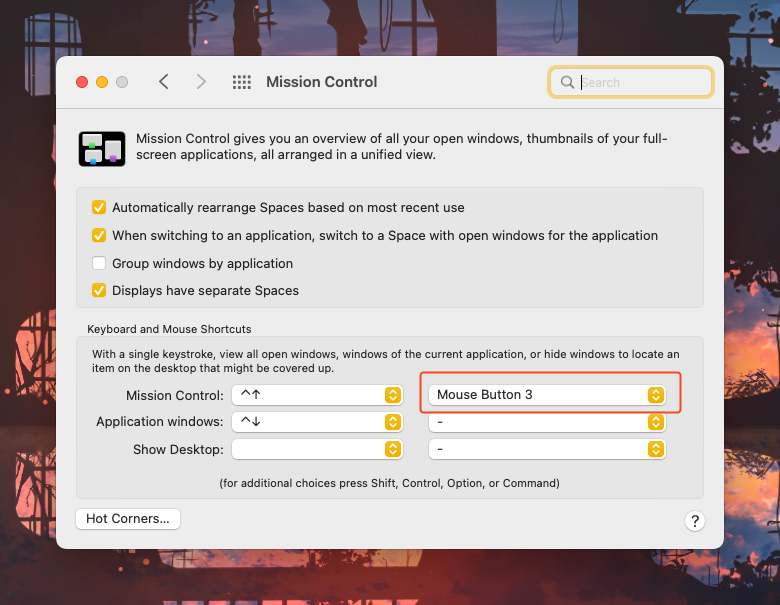
Setting Up Your Mouse
I use Filco Majestouch 2 for typing. As a result, most of the positions in which I use my MacBook make using the touchpad very difficult.
Activate Misson Control with a mouse button
Development Tools
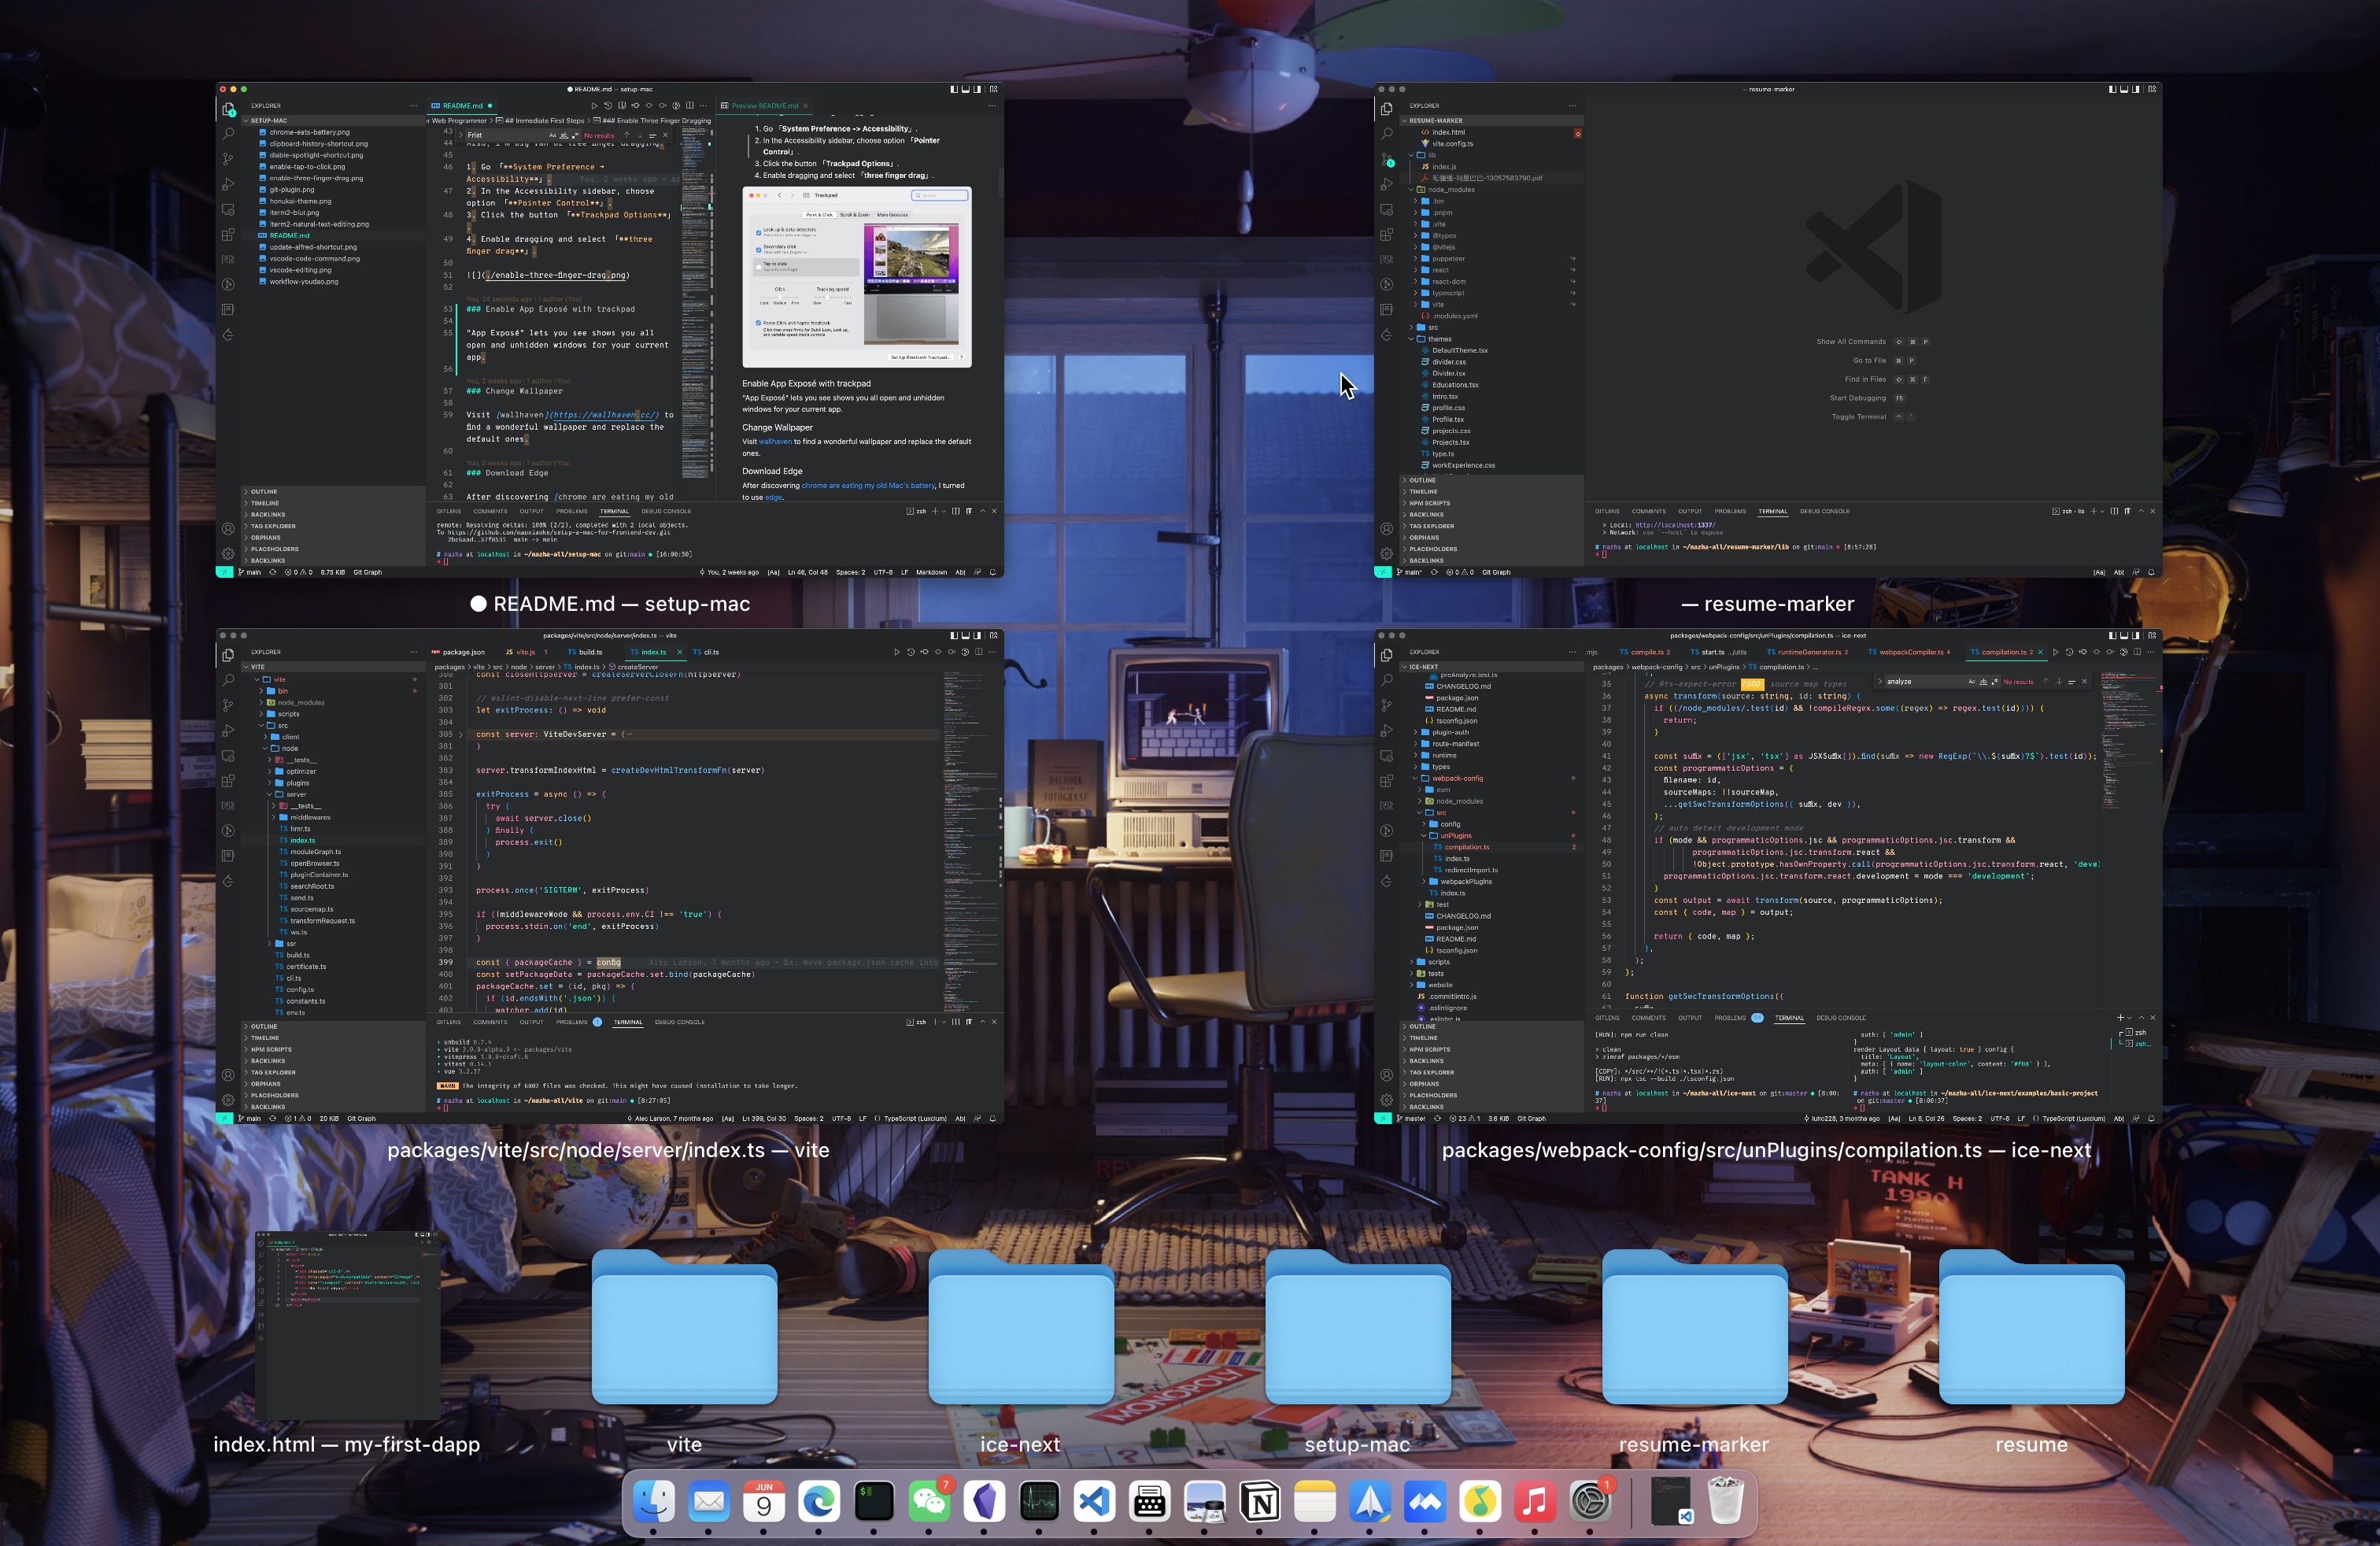
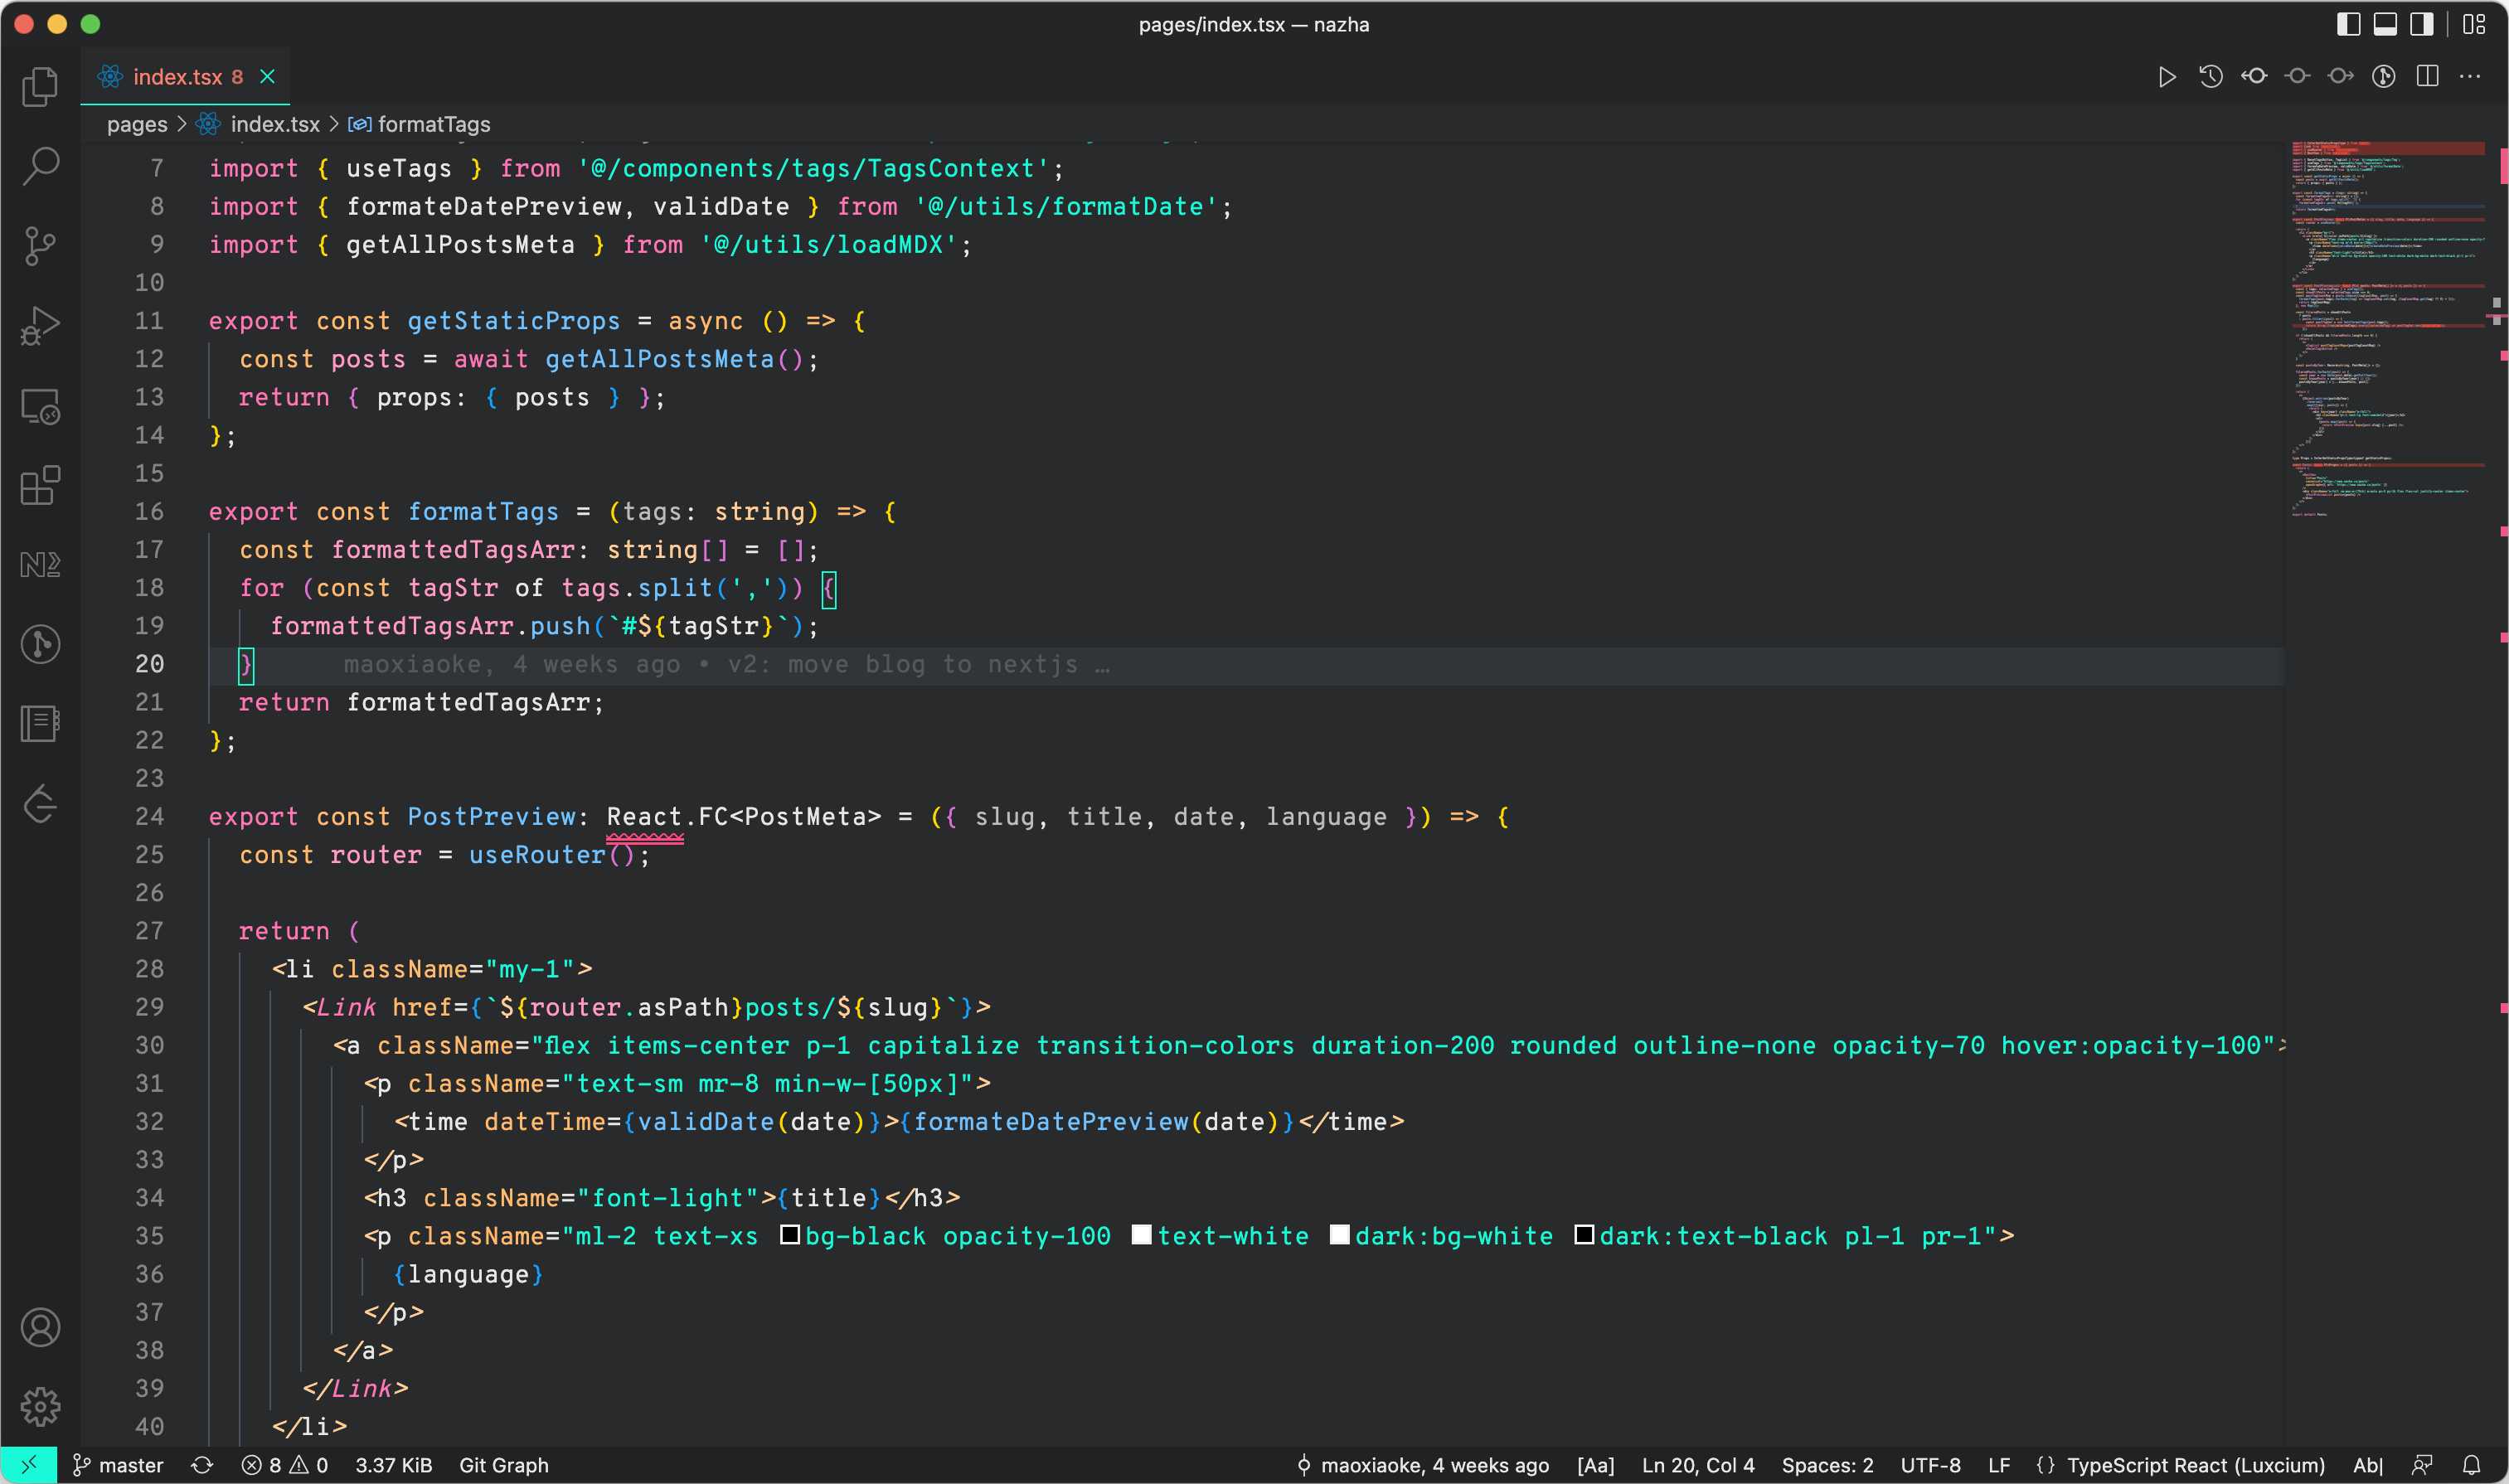
vscode
I prefer vscode to code. You can use github account to sync your setttings.
My favorite font is Overpass Mono and It should look like in the screenshot:
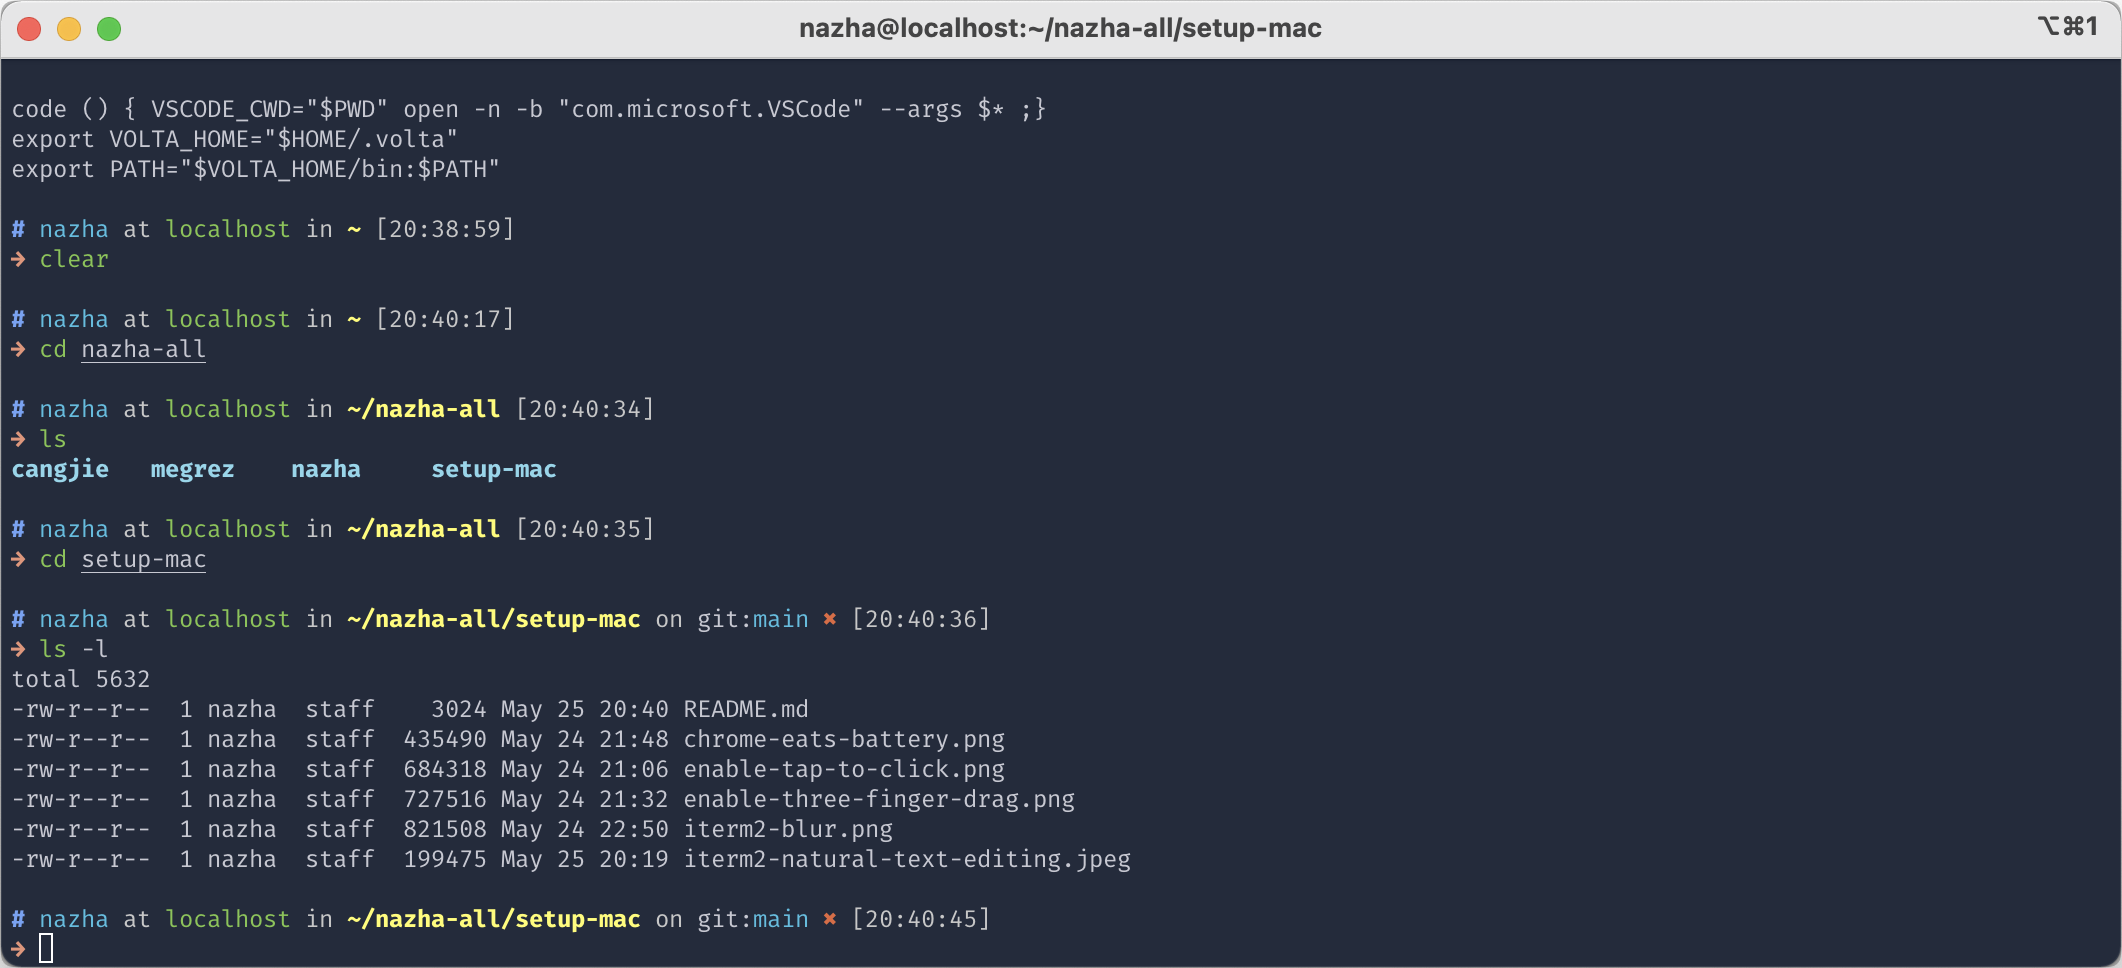
Launch vscode from the command line
Opening vscode from your terminal is a quick, easy way to open up new projects and begin coding faster.
Add the following text to your .zshrc files:
code () { VSCODE_CWD="$PWD" open -n -b "com.microsoft.VSCode" --args $* ;}
After restarting terminal or use source ~/.zshrc, you can open vscode by typing code ..
Here’s how this should look:

pnpm
pnpm is fast, disk space efficient package manager, works as an alternative of npm.
Install pnpm using Homebrew:
$ brew install pnpm
volta
I use volta to manage multiple Node.js versions.
Other Softwares
Dropover
It’s hard to Darg & Drop on Mac, especially with Stage Manger enabled. Finally, this app greatly alleviates this problem.
iBar
iBar is a powerful menu bar management tool.
Whimsical
My favorite drawing app out there. Whimsical is so great that I compeleted most of my drawings (You can find them here and here).
Because Whimsical support PWA already. You can install it as normal apps.
obsidian
obsidian is my note-taking app I use.
Notion
Notion is where I writing articles.
Other Useful softwares
- Shottr - Screenshot tool, it is powerful and easy to use.
- Anki Notes - Memory app to learn English.
- ScreenFlow - Video editing & screen recording.
- kap - Screen recorder to generate gif.
- magnet - Window manager.
- Input Source Pro - A tool for multi-language users.
- Open Source Mac Apps
- https://git.herrbischoff.com/awesome-macos-command-line/about